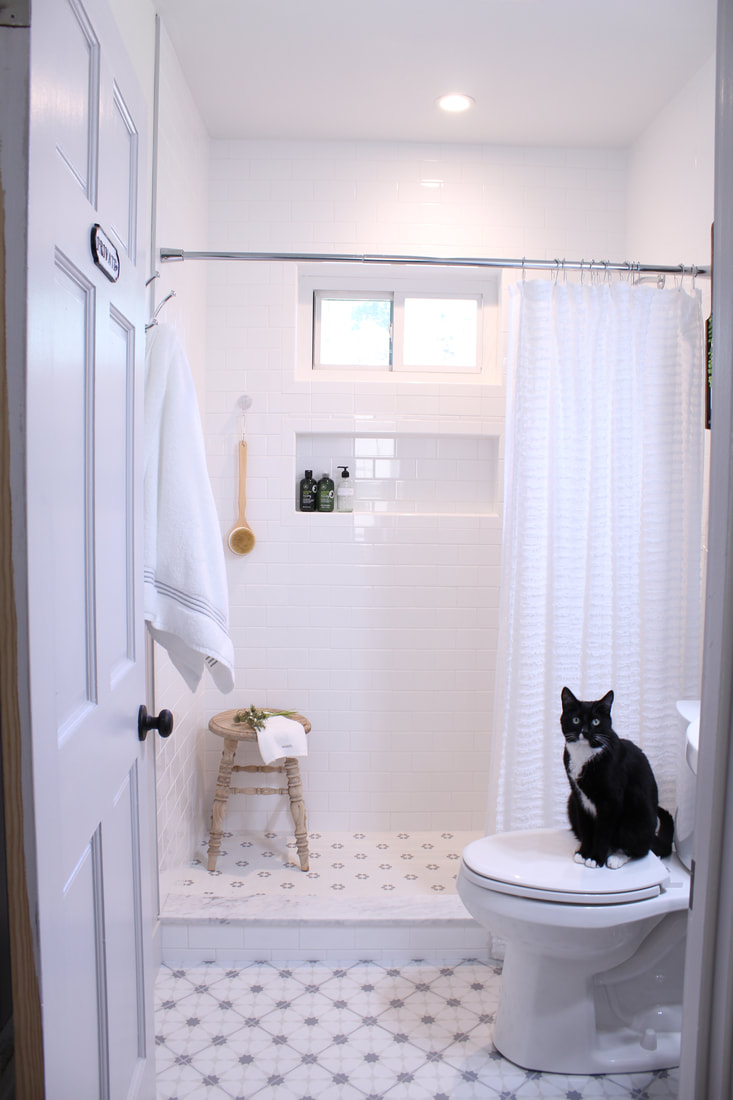
 When we bought the cottage, we knew the first thing that needed to be done before we moved in was the bathroom. There is only one bathroom for the whole house and it REALLY needed updating. The space felt very small & cramped due to the drop ceiling, oversized fixtures and the way the tub set up was laid out. This was going to be a complete gut job and it needed to be completed within 4 weeks...no pressure at all. Luckily I have really good connections in the design trade and trust me I pulled out every favor imaginable to get this project done on time and on budget. 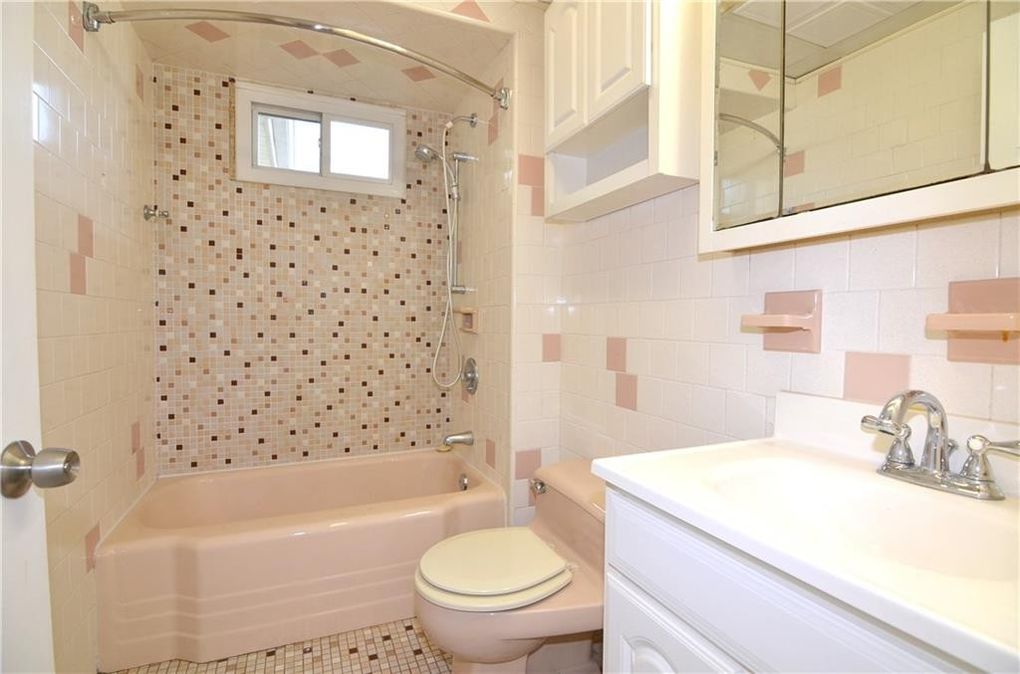 As with any remodel project it is important to have a design plan & a budget. It's why I do recommend working with a designer to help you with this process, even if you plan to do any of the work yourselves. They can make sure you have the correct layout which include plans to give to your contractors, ensure you have the all the materials allocated for the project and help put a vision to your dream with renderings. Now since I am a home stylist I did act as my own designer, as well as project manager for this project even though I did use various tradesmen for areas I knew I could not do. This was a way for me to save some money but I was also packing up our existing home, closing my store and working on client projects all at the same time. So in hind sight, I could have been a lot less exhausted, overwhelmed and stressed if I delegated or hired some things out. Time is money and that is very valuable so it might be easier & faster to hire that tradesmen instead of doing it yourself. My advice is that consider all the factors before starting ANY do-it -yourself project. 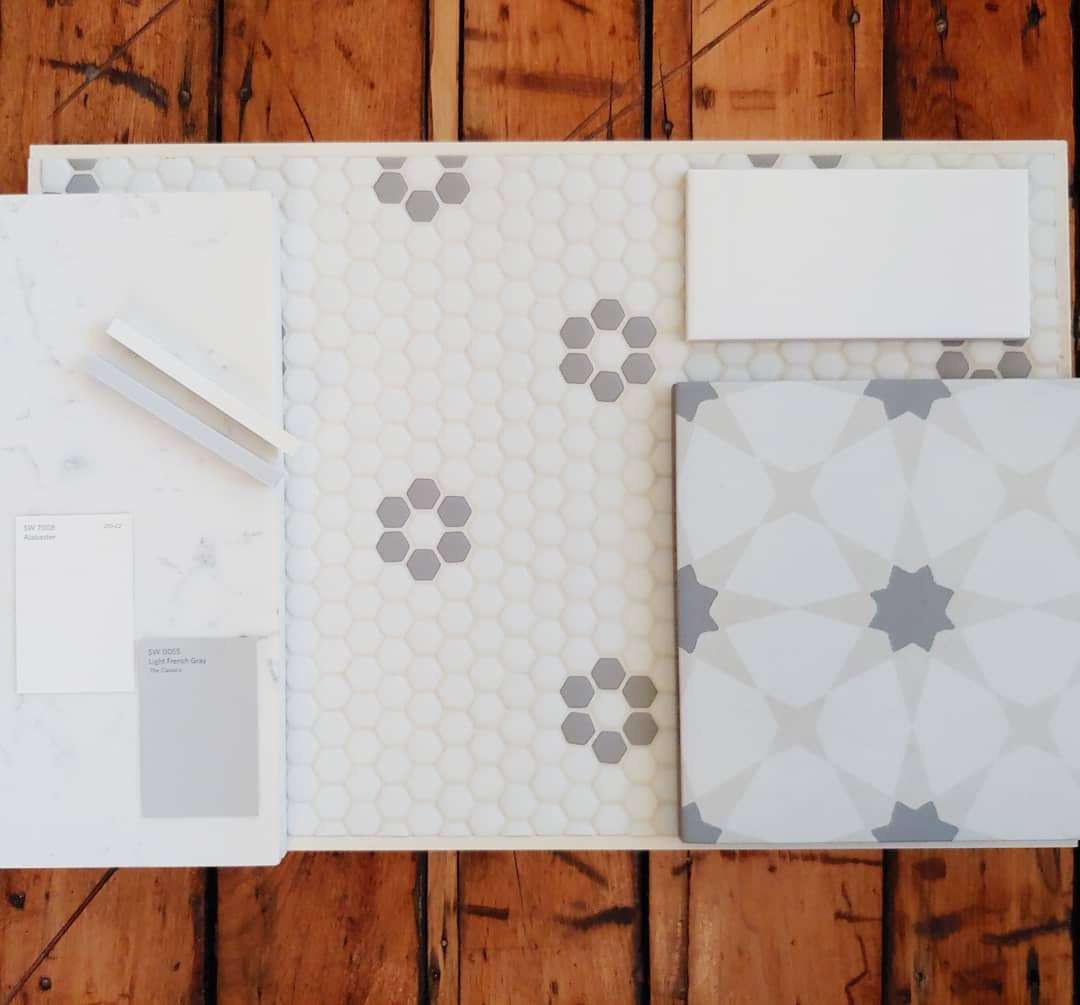 So let's start with the design! First, I decided to keep the same layout. The bathroom is small and narrow so it wasn't like we could have flipped anything around. FYI: That's also a huge money saver too. When you don't have to move any plumbing or gas lines in construction, it saves you a ton of money. Next, I wanted to pick colors & materials that would be classic & modern with a nod to styles of the past. Our cottage was built in 1928 so I wanted to bring in some elements that would have been used back then. I chose MSI Zoudia Porcelain Tile for the main floor laid on a diagonal to make the room look larger (a little design tip to share). In the shower, we used classic 3x6 subway tiles from Home Depot and the floor was a beautiful hexagon glass penny dot with a floral motif from Jeffrey Court. I chose Alabaster & Light French Grey from Sherwin Williams as the paint colors for the walls & trim. Now that I had the basics of the design, it was demo time! Everything totally got ripped back to the studs. Demo actually took 2 and a half days because of all of the layers plus we had a wee bit of asbestos that needed to be taken care of as well. Once demo was done, construction began. Within 4 weeks, we needed to get everything framed, plumbing installed, electrical wired & updated, tile work completed, painting, fixtures etc all done for our move in date. Were we on budget? Sort of. We did splurge on a few things but saved on others. Were we on time? Yes & no. There was still a few things that needed to be done after we moved in but we had a functioning bathroom which was the most important thing. All in all, we got the most beautiful bathroom for our new home and it was worth it all! Construction on this project completed by DDC Constructors in Coventry, RI
SHOP THIS LOOK Main tile floor: Wayfair Shower tile floor: Best Tile Warwick, RI Shower wall tile: Home Depot Toilet: Home Depot Sink: Home Depot Faucet: Wayfair Shower fixtures: Wayfair , Supply.com Light fixture: Shades of Light Medicine Cabinet: Pottery Barn Stool: Wayfair Towels: Target Hooks: Home Depot Toilet paper stand: Home Depot Towel ring: Home Depot Shelving: vintage find Paint: Sherwin Williams walls- Alabaster, trim- light french grey, ceiling- fleur de sel
1 Comment
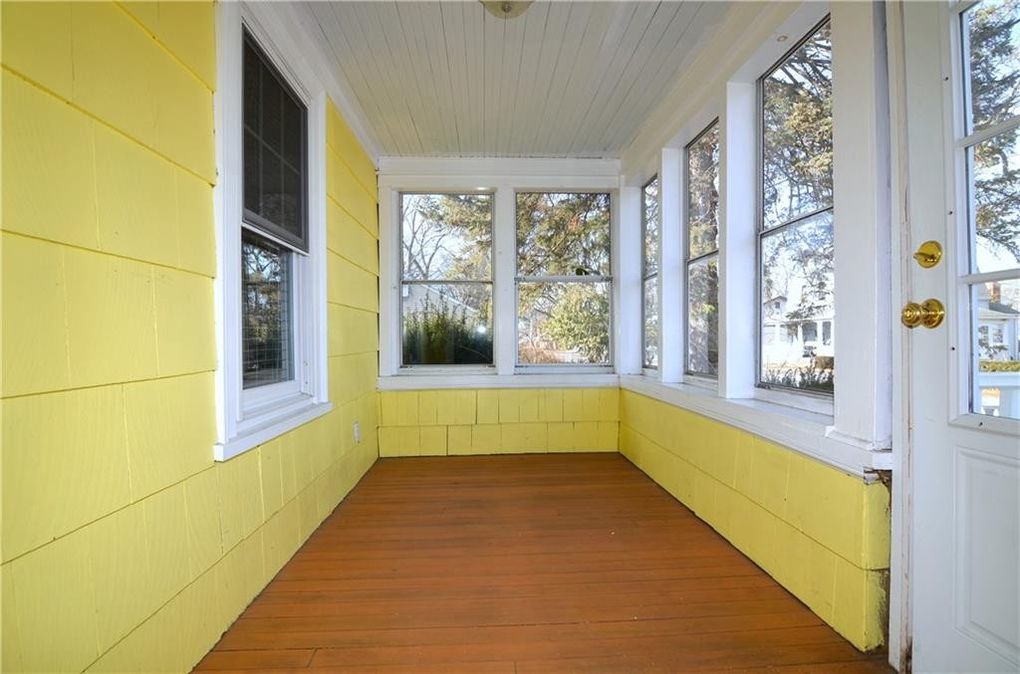
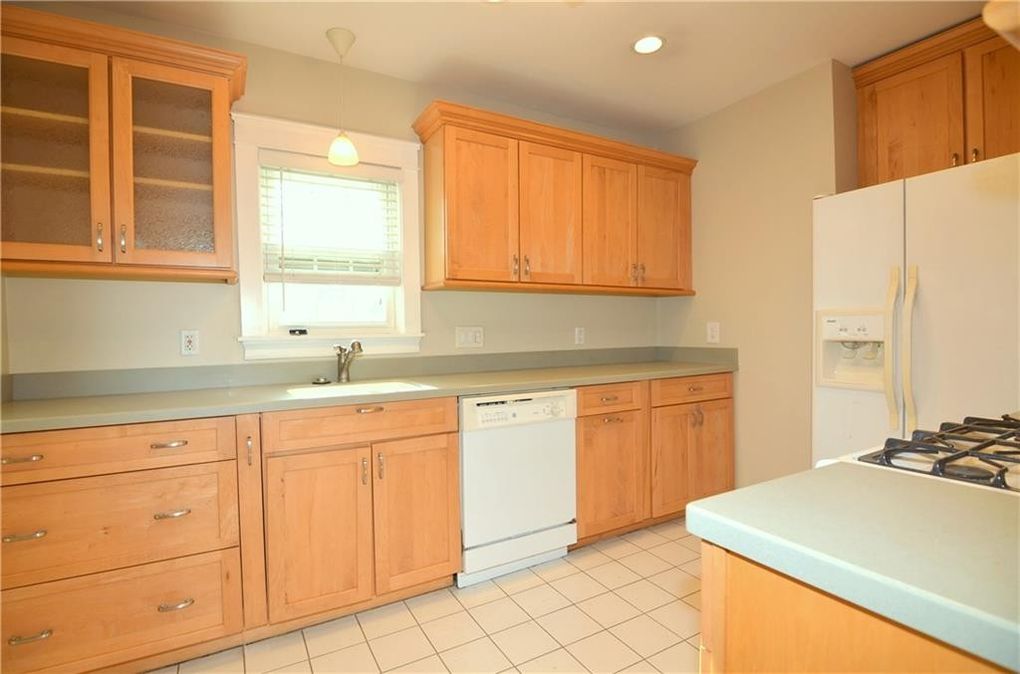
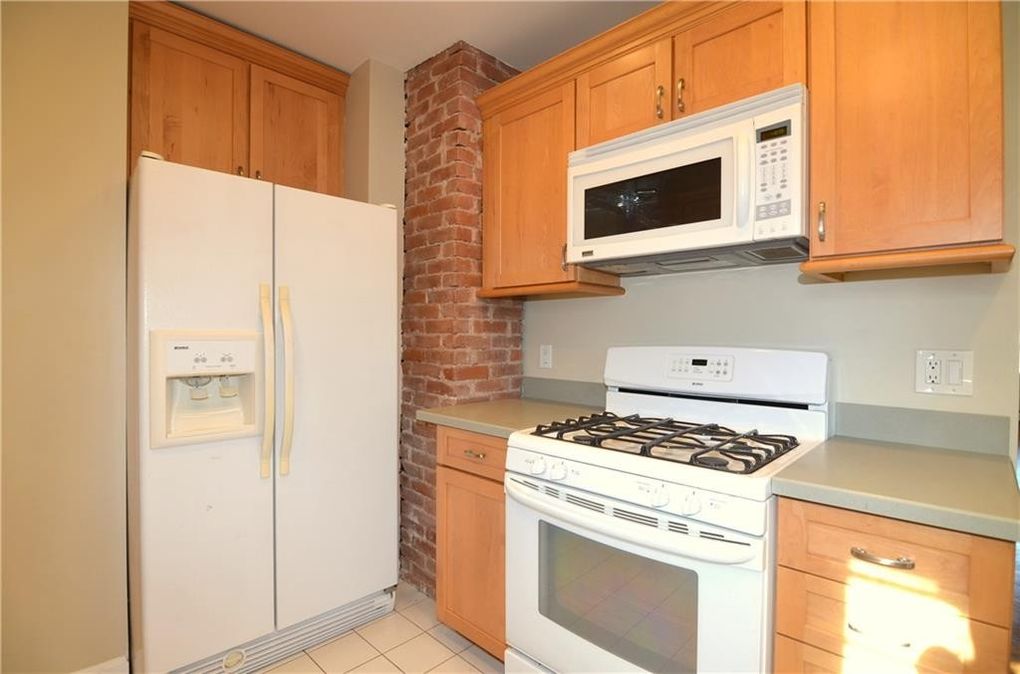
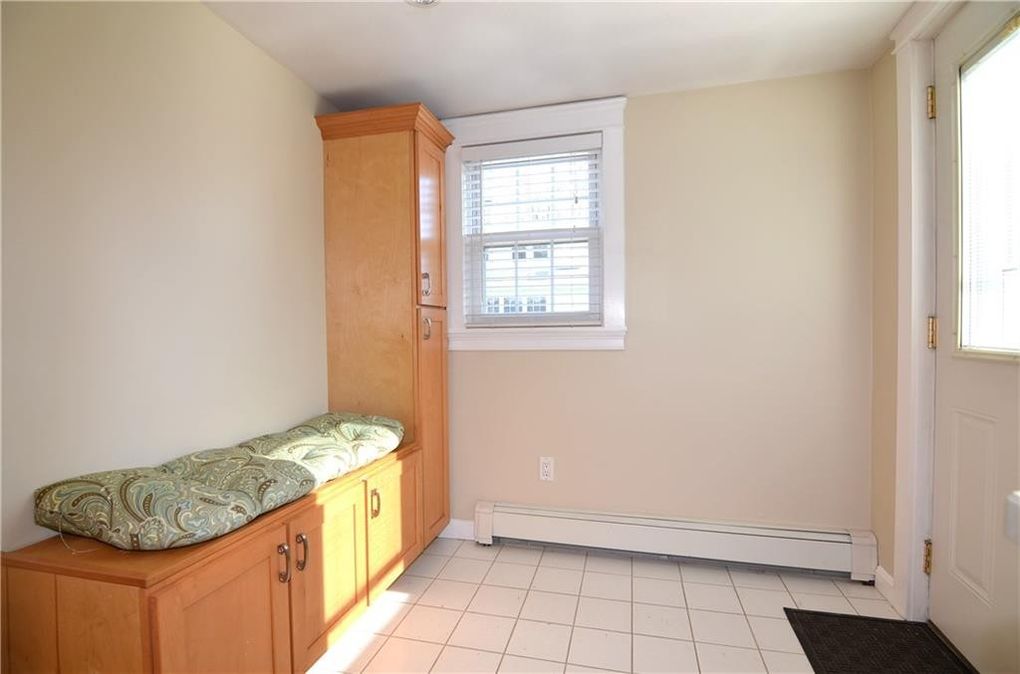
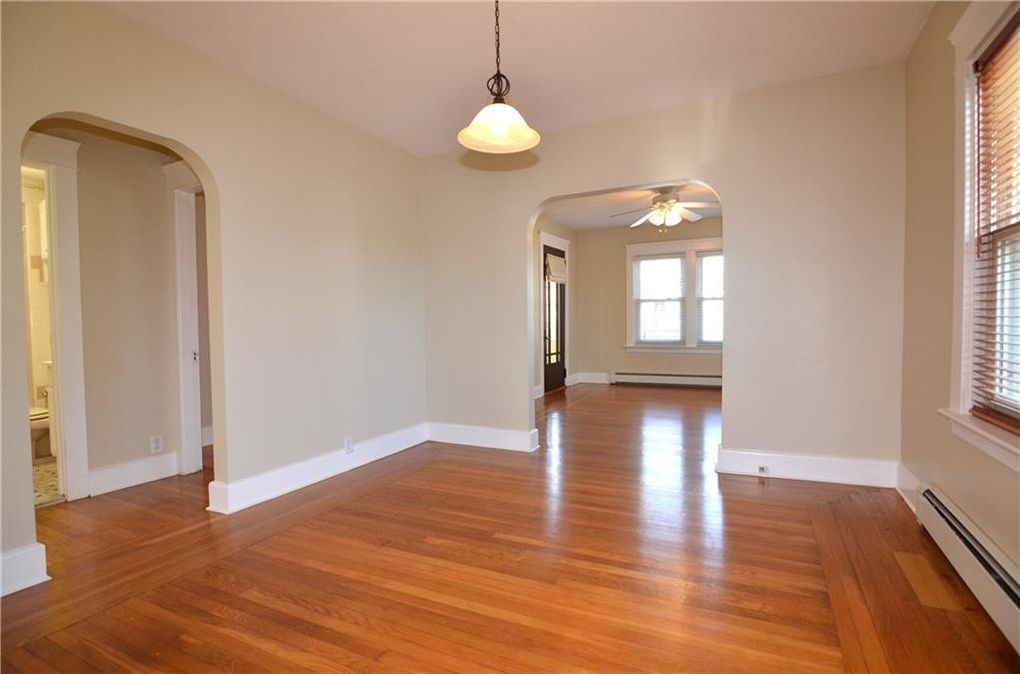
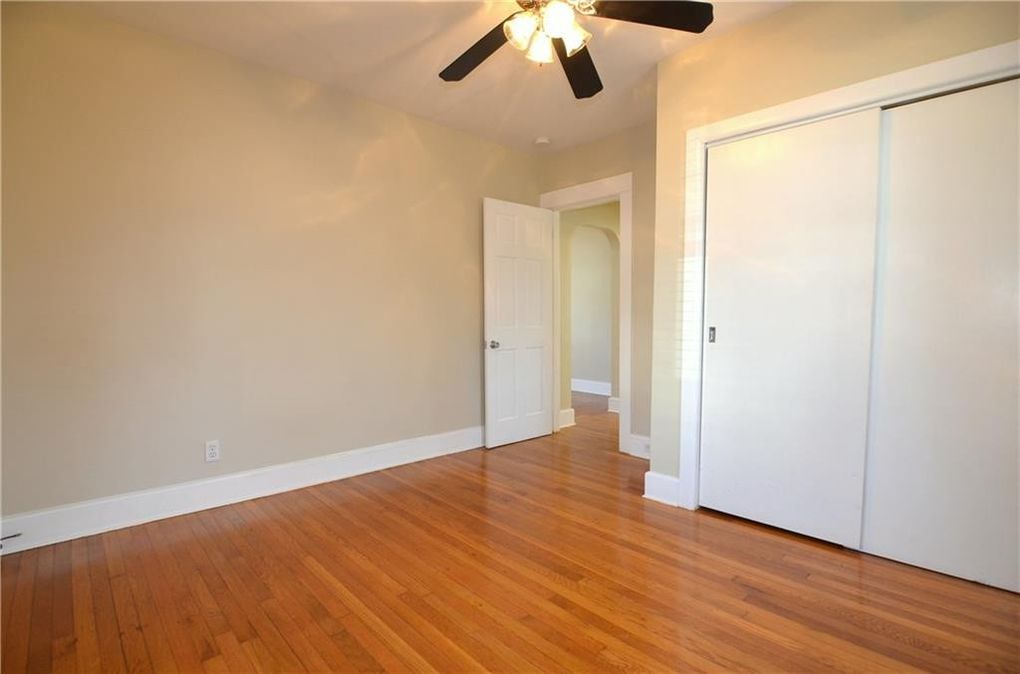
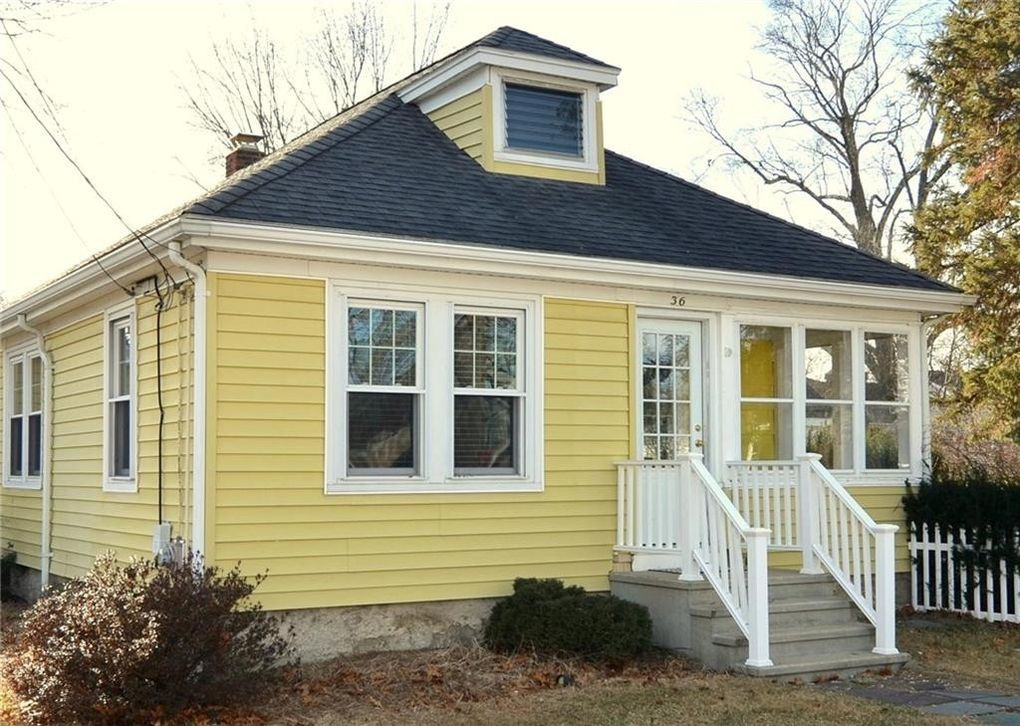 Hello and welcome to le petite cottage! I am excited to share this new blog with you all. Hoping to share the good, bad and ugly about renovating & decorating an older home (ours was built in 1928) and maybe give you some inspiration for your own home. It was a year ago that we first saw the cottage. It was kind of a whirlwind moment. We had another home we were looking at fell through due to the condition of the home and my husband was determined to find us a house. We knew we wanted an older home that we could put our stamp on. He crammed 3 house showings into one day and then added a 4th (the cottage) in at the last minute. The cottage was the first house we looked at. When we walked in, I think we both knew because we kept comparing the other houses to the cottage. We put in an offer that same day and within 24 hours it was accepted. It then took about 6 weeks for inspections, paperwork, etc before we went in for the signing. Then another month before we officially moved in. So I thought we could take a trip down memory lane of what the cottage looked before we started any of our projects. Before jack hammers & dumpsters. Before paint & furniture. Just to give you an idea of where we started out because we've come a long way in less than a year. So stay tuned as I take you room by room, project by project as we create our cozy little cottage for two (plus 3 cats LOL) xo- Jenna Special thanks to Candace of Lila Delman in Newport, RI for helping us find our sweet "le petite cottage". |